Viewing stomata is a fun one-day lab during your photosynthesis or plant unit. The first time I had students do this lab, I got out razor blades (I know) and tried to have students cut off thin slices of the leaf. Needless to say it didn’t work out terribly well. Here is a much easier (and safer!) method to view stomata.
You will need:
- Leaves
- Clear nail polish (Buy a few bottles from the dollar store- they will last you years)
- Microscopes and slides
- Clear cellophane tape
Procedures:
- Obtain your leaf samples. There is a ficus tree right outside of my classroom door, so that is what I use every year. However, any broad flat leaf should work. (Note: if you are trying out a new leaf type, be sure to test it yourself before doing it with students).
- Give each student a leaf and a microscope slide.
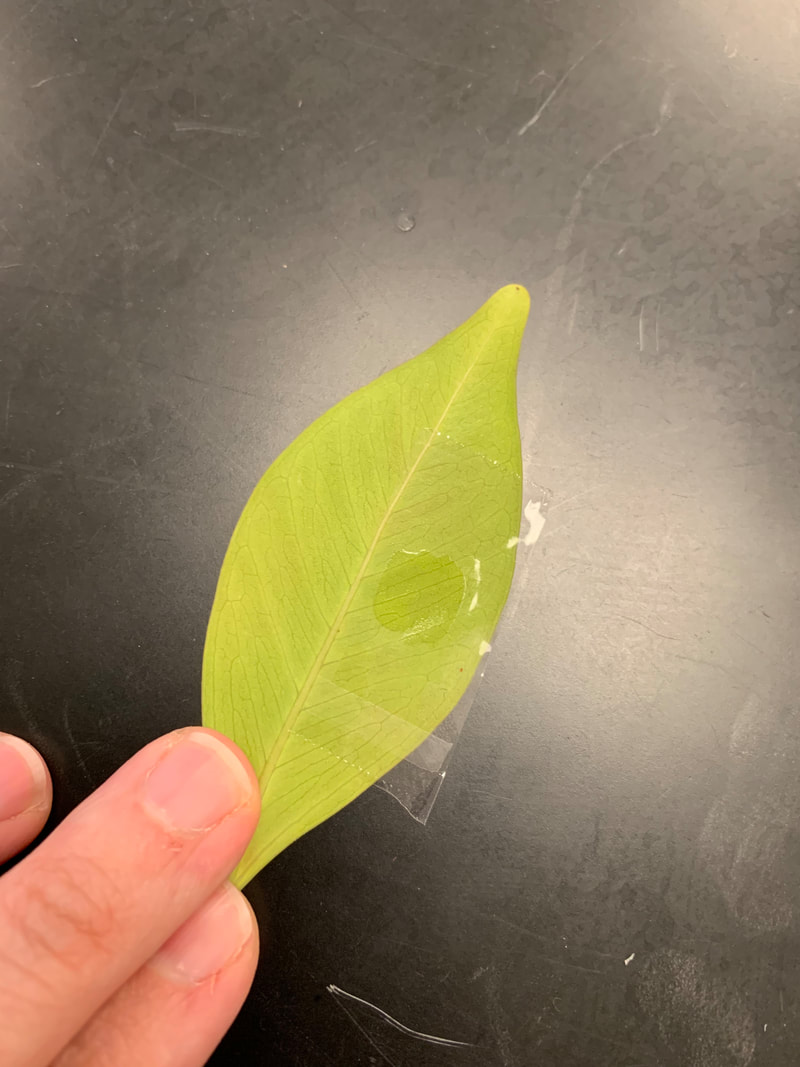
- Have students paint a THIN layer of clear nail polish on the under side of the leaf in a 1 cm x 1 cm square. (If they do it too think it will take forever to dry). I buy three bottles of polish and it takes a few minutes for them to be passed around.
- Allow the nail polish to dry completely, and then place a piece of CLEAR cellophane tape over the nail polish. Matte tape won’t work. Also, students need to make sure they aren’t leaving fingerprints on the tape before use.
- Using their fingernail or school ID, rub the tape down firmly over the nail polish.
- Slowly peel the tape off of the leaf. The nail polish should now be stuck to the tape.
- Place the tape directly onto the microscope slide and place it under the microscope. Depending on the leaf type, students will generally need to be on at least 100x to see them clearly.
I generally show students up on the board what stomata look like because they are often confused as to what they are looking at. Since the slide is tape and not a wet mount, there will be air bubbles students need to ignore. I tell them to look for round mouth-like structures (see the image below).
It would be a fun extension activity to have students look at different leaf types and compare the size of the stomata.

|
|

|

|

|
If you would like a free powerpoint I created for this lesson, click here to download it. Enjoy!